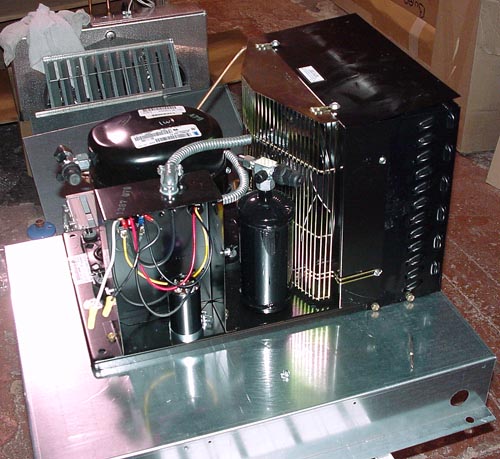
 A vigin. Look at all that room in the elec. box!. Hmm...move the condenser up.... This is the Tecumseh unit. All I could get on short notice.
 Nice deep shroud on the fan. They do give you the foam blocks anyway though.
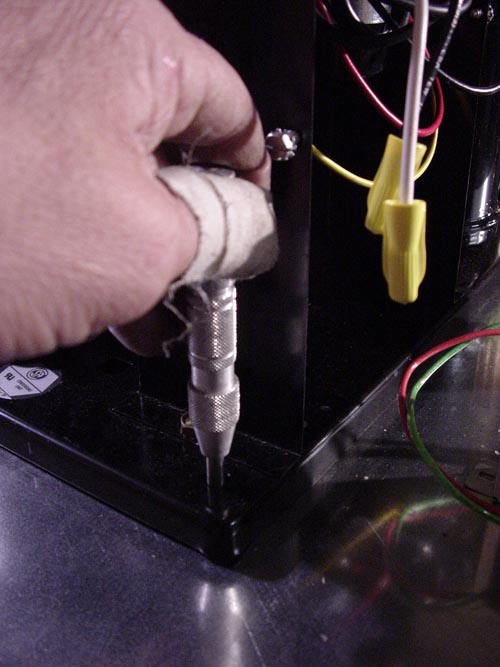 Auto punch is great. Place and press. A must have.
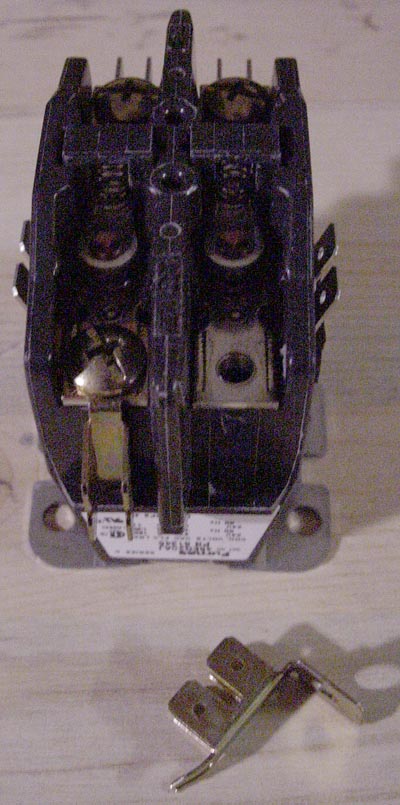 Those tab terminals come right off the contactor. I clippd the tabs and put the plate back as a washer. Saves space. In the end I had enough space and could have used them.
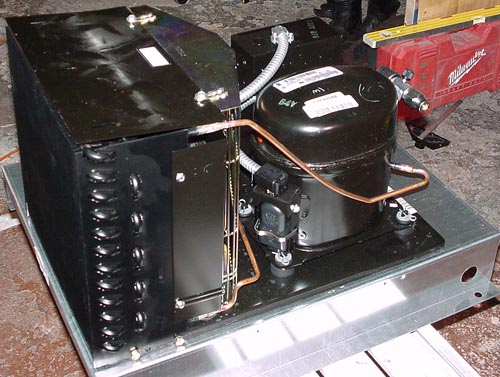
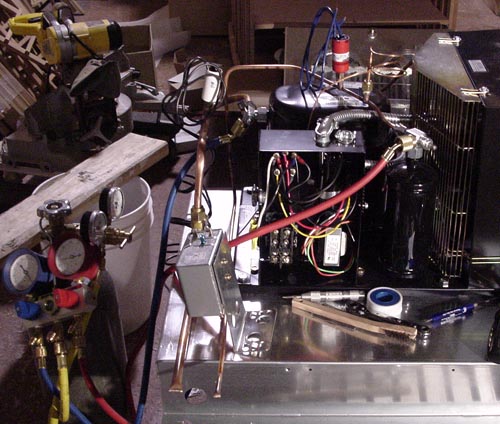 Passes pressure check first time. Amazing. Gave it an hour of pressure and then a couple more of deep vacuum while I did the wiring.
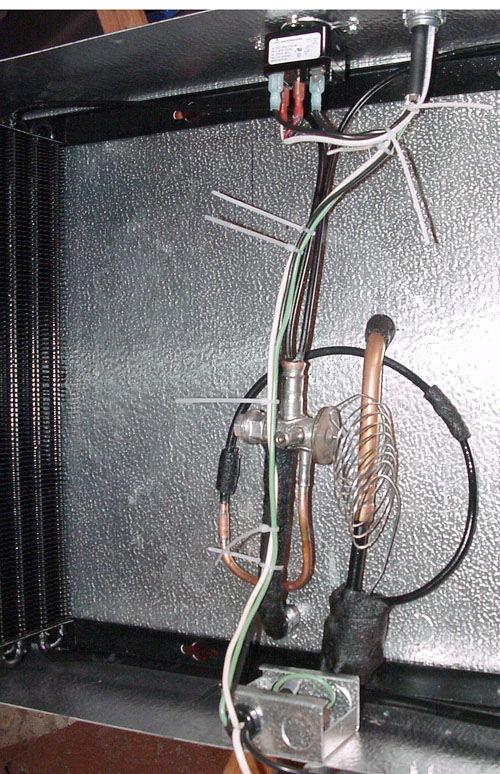
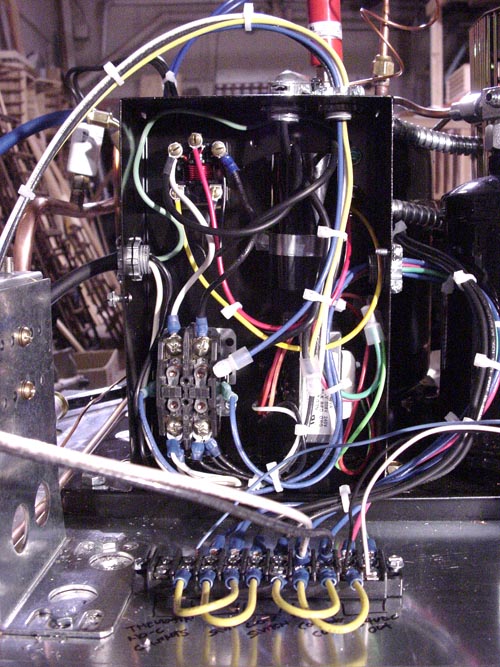 It all fits. Open frame contactor and open frame 24VAC transformer (lower right). The contactor is used as the 110VAC junction point in the box for my stuff. All the 24VAC comes out to the terminal strip. Each switch has its own terminal. Makes it a breeze to isolate or jumper any one of them. The yellow hard jumpers make up the circuit. The heavy black and white leads (to the left) are the parallel connections to the evap. relay coil. The three light wires to (to the right) run to the thermostat. Thermostat gets a pair of 24VAC legs to power it. One of there is jumpered over to its NO contact. The third wire then returns from the thermostat NO contact to begin the series circuit with the two pressure switches.
The condenser fan had its hot cut and runs out to the fan cycling pressure switch and back.
 Hooked in the thermostat and the evap. unit and fired it all up with some nitrogen on the low side. Came up at 30 PSIG and everything ran. Left it w/ 50 Lbs in it. Insulated all of the low side. The low side 1/2" line to the EPR is pretty short...not great from a vibration standpoint. I gave it a triple wrap of cork and mounted it loosly so it can float a bit.
Doghouse cover was a hinged aluminum thing. Could do without that hinge!. Cut a mouse hole over the lines to save time in the field and left the lines long (shippings problem again :-)
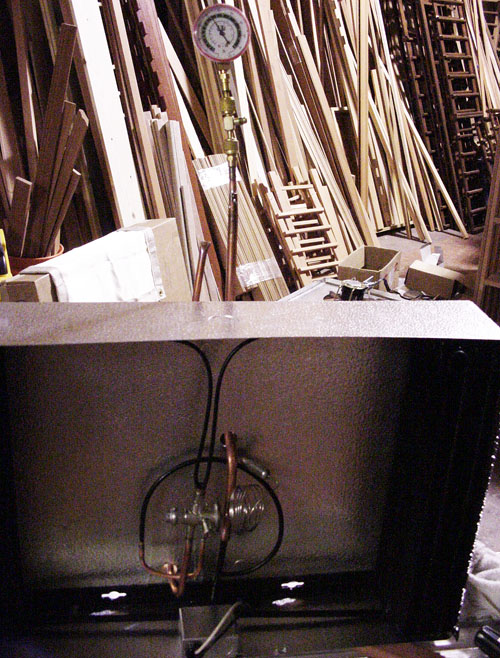 Plumbing in; pressure testing @ 250 lbs.
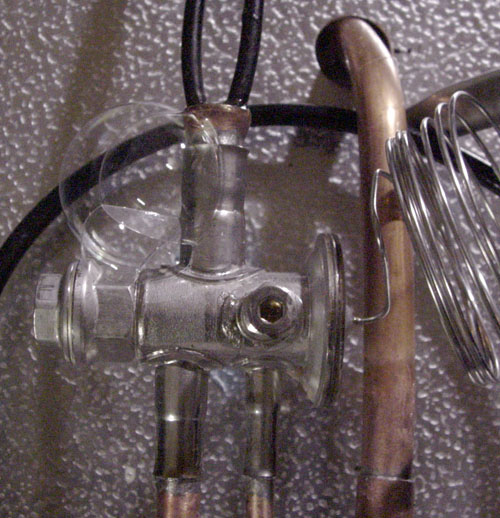 Leak. Resolder.
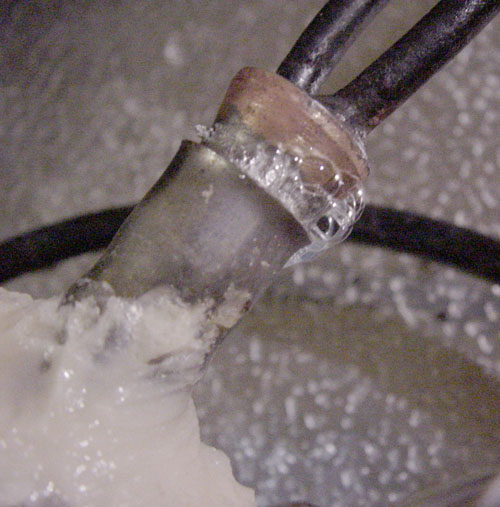 Still leaks. Resolder. Who thought up this thing? Some people seem to be using ones with nice flare fittings....
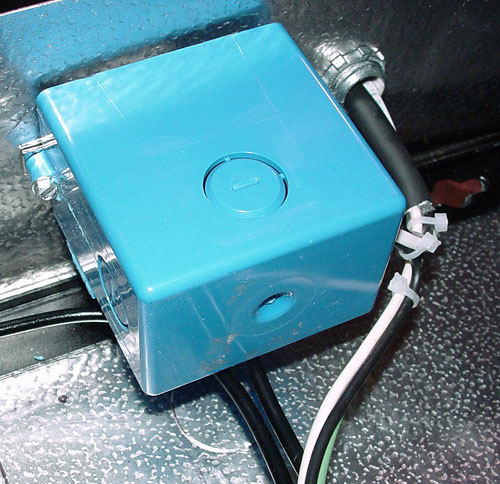
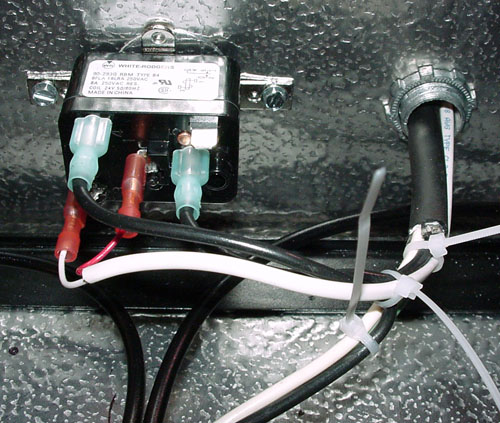 Relay on inside on back wall. Cord in from rear. Drop hot leg at the relay NO contacts then continue on with ground and neutral to the existing internal junction box. Relay coil power comes in with the main cord.
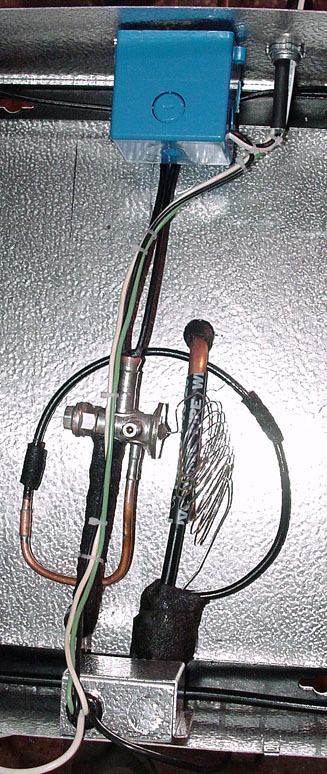
 Dressed to the liquid line. Enter existing junction box through existing strain relief (it's free)
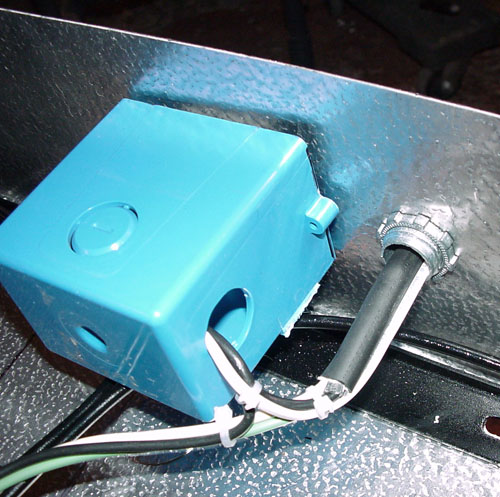
 Cleaned up with cover in place. Cover is a box from Home Despot. Clip off the wings and fasten with one of the relay fastening screws. No strain relief required. Just realized I will have to go back and put some cork on the lines over the relay cover. They will be wet and while they are over the pan they will drip on the relay cover first. Maybe bend them so they run below the cover. Lot of room in here...
 Keeps fingers out of hot 110VAC NC terminal. (Unless you stick 'em in the hole.)
 Bore out that hole so screw slides through. #8 x 3/4" self tapper. One is enough for cover. It catches one ear of the relay too.
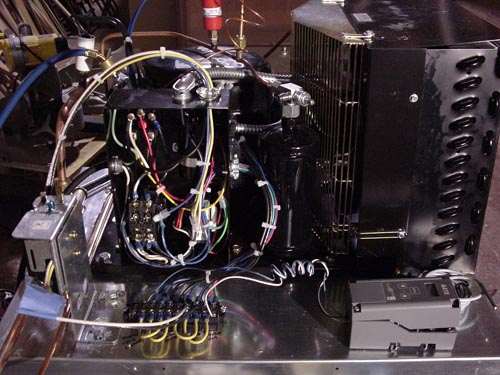
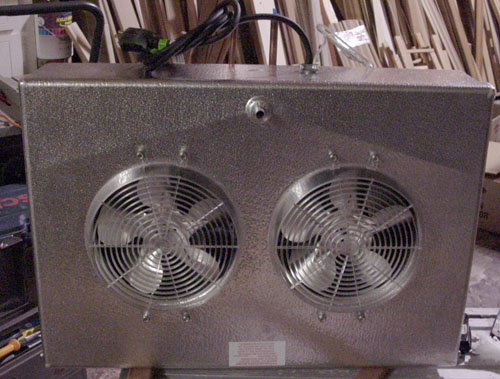 Bottom with fans back on. Power it all up and confirm wiring, fan blade clearance, etc. Check for rattles and buzzes. The TXV cap. was buzzing on the suction line so added a strip of 20 mil. tape.
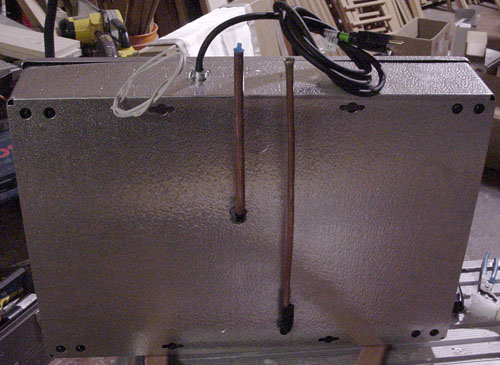 Plenty of copper = plenty of easy options when installing. Getting it back in the box is shippings problem. ;-)