Should to be crimped around tube before brazing. The layout of switches is very nice. Good access.
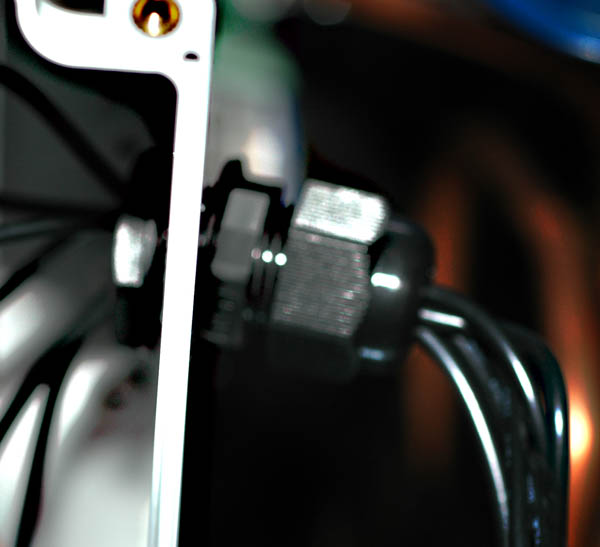
If valve projects beyond end of machine it get hits when putting the cover on. it also hooks the cover when you take it off. May be broken off with unpleasant results. Cap missing (ditto on cohn machine. )
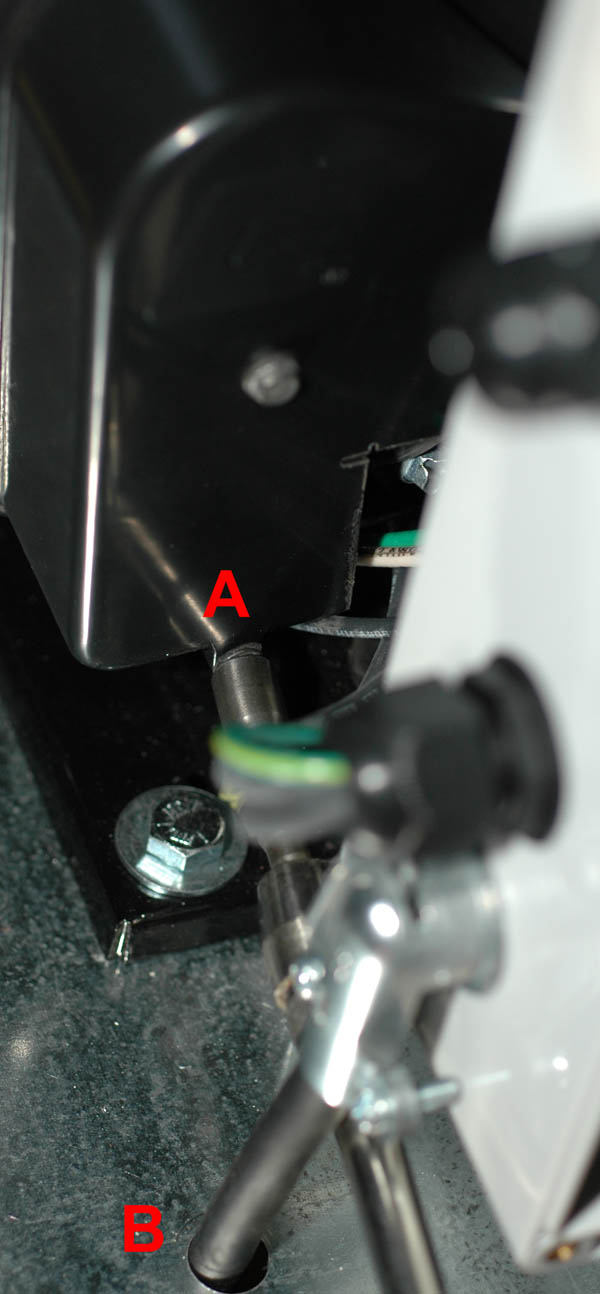
Two issues. A) these screws must be removed to get at the capacitors. They are very long and skewer the entire case. They cannot be removed because they hit the elec. box. In addition it is difficult to get a tool on them. They don't have much head, working at an angle is a problem as is using a wrench. Moving the box an inch to the right solves this. B). No grommet. Burrs on hole are like razors, will cut cord. Must have either a strain relief or grommet in the deck.
On the majority of the machines I get, one or more of these is falling out. It doesn't help that the wires are banjoed tight with NO service loops. Not good. Best practice to leave a service loop and never pull wires tightly.

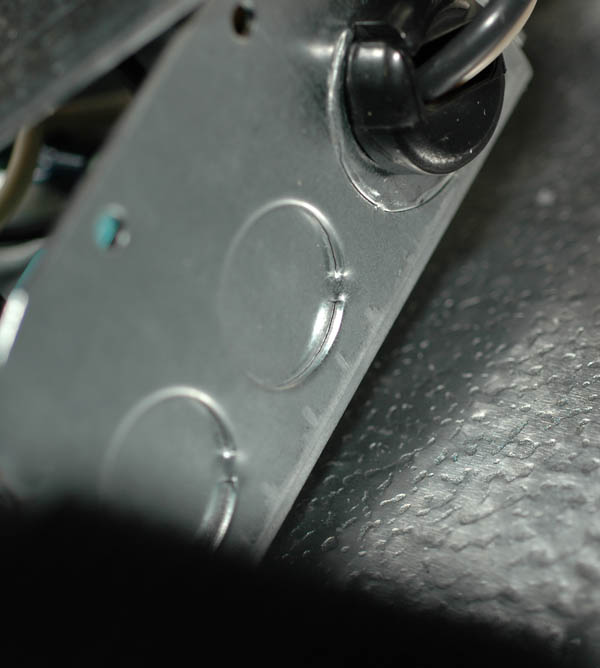
Sensor reads the temperature of the metal, not the air entering the condenser. Removing the hood immediately drops the ambient reading 20 degrees...the metal deck gets hot with the top on because the elec box diminishes the airflow through the machine. If you don't care I don't care. Clean installation and with the foam you can get the top on without hitting these.
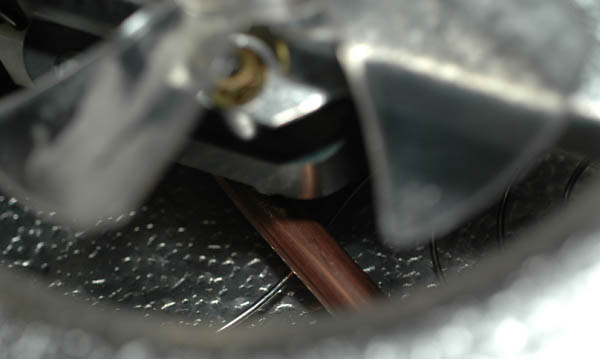
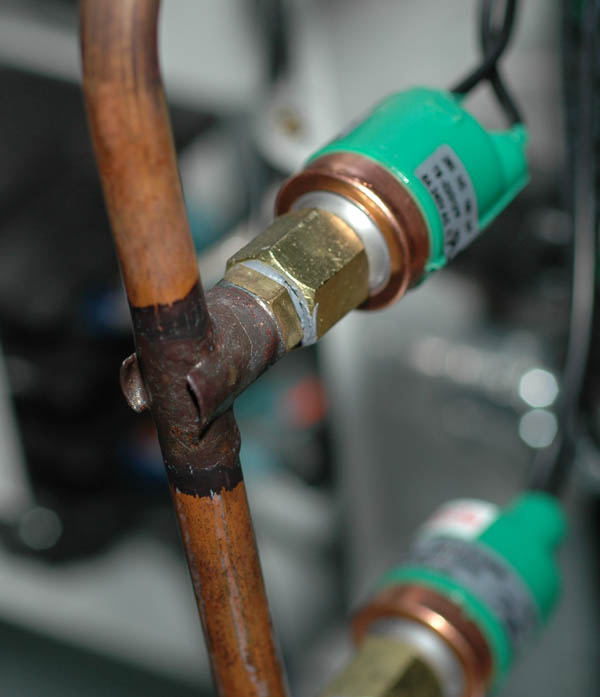
Fan motor hitting liquid line. This causes a very loud buzzing noise every time. Will wear through the copper in time. Cannot be fixed (I've tried a bunch of things too). The routing can go behind the support post and this is easy to do and works well.
Hello? 3:00 won't work. Touching the back panel won't work. Being insulated from the suction line won't work. Not having external insulation won't work.
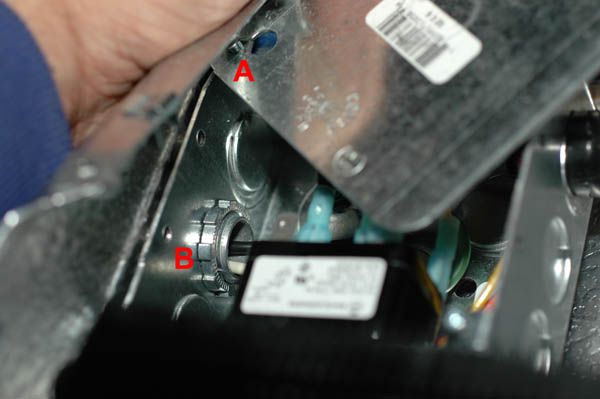
Cover cannot be removed with out removing box. Screw at A cannot be tightened. Even my right angle phillips won't get on it. So it will eventually vibrate out and then the cover will come off making a rattle and requiring a callback at which case the screw still can't be tightened. If you can't get the cover off how do you wire the relay? The box is only retained by the lock nut at B and by the cord!. Putting box on outside and using regular box instead of a double solves all this and improves access to the relay. No opening up a drippy evaporator over racking to diagnose a relay issue. (I have had them go out already). See mgrn-rth and others.
box already rattling against the case. It's only retained by the lock nut and it will work that nut loose.

Lot of heat here. Using StayBrite-8 or similar demands MUCH less heat and gives a good joint. Less heat = less chances of damaging valve.
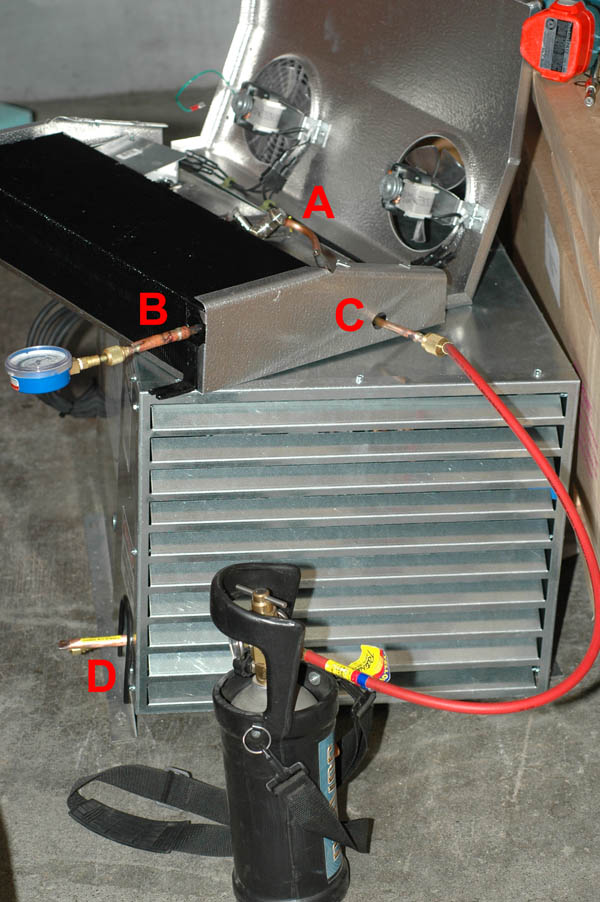
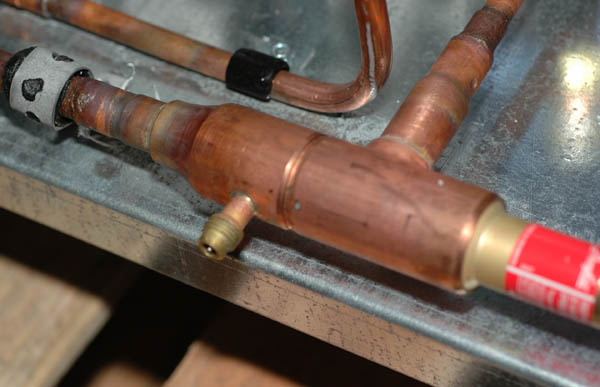
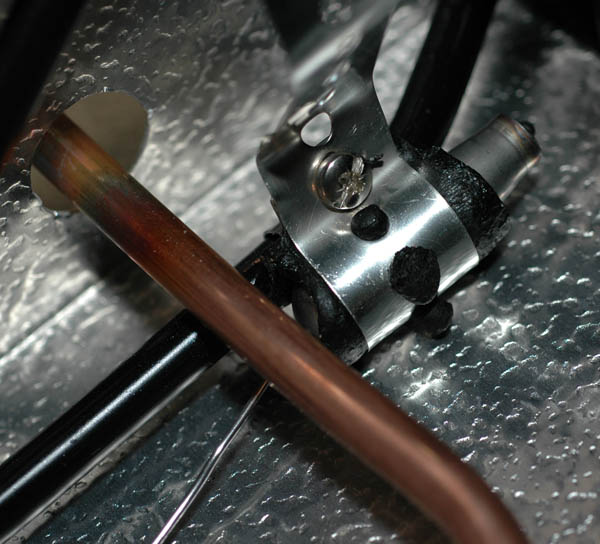
Evap.. under test. Leak test, flow test and function test all done at once (you need the TXV bulb in hand to check function. Some issues: A) Very nicely done orientation on the TXV. I'm envious and will be copying this.Flip the liquid line 180 degrees with about the same bends and it will run behind the support post and stay away from the fan. As soon as it exits the case at C) it makes a 90 turn to the rear. If you make this bend with the bender and begin it INSIDE the case then the line skims right along the outside metal. Very clean. Makes cover construction simpler. The line is always going to the rear so may as well do it and end it near the suction outlet. As this is made I can either cut outside and use a 90 fitting (1 cut, 2 joints) or cut inside and bend a piece (1 cut, 1 joint, 1 bend)