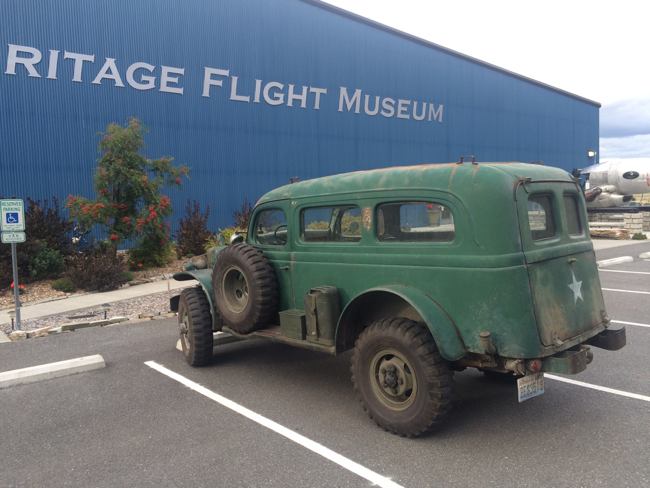
Our WC53, “Franklin”

It was the clutch..
Again Franklin is in the garage for rest and repair. The first order of business is to figure out what broke in the driveline to cause it to not be able to move. I suspect there has been a clutch failure of some sort. The parking brake still works so everything is fine from the gearbox back. I didn’t hear a big bang sound that would typically occur if the main shaft in the gearbox snapped. We’ll have a look at the clutch first.
Things causing trouble:
-
 Fuel tank sender is now binary! Fix!
 -
 Rear differential seized up. Fix.
 -
Carburetor is flooding all over! Fix.
-
It wont go anymore. Fix.
-
New differential is leaking oil like crazy. Fix.
-
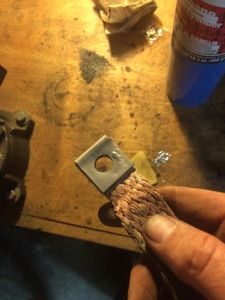
Frame to bell housing grounding strap is falling apart. Fix.
-
Tie up the main power cable better under truck.
-
Fuel system looses prime. New fuel pump fixed this!
-
Headlight switch gets so hot it burned my finger. Look into this.
Expedition upgrades:
-
Get a five gallon bucket for washing things.
-
Find the bucket, I lost it.
-
Some sort of awning for rain.
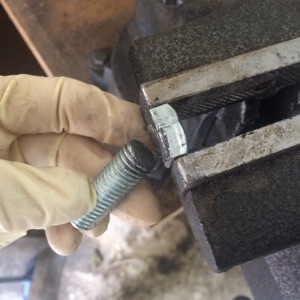
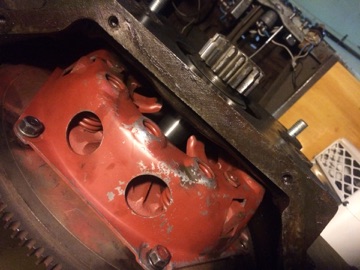
First order of business this time was to make up some alignment studs for pulling and reinstalling the gearbox. The WWII manual said to chop the heads off a couple 1 1/2”? I can’t remember the size now, but a couple bolts.
The plan, from the manual, is to replace the two top bolts that hold in the gearbox with these studs. This gives something to hold the gearbox in alignment when sliding it in and out of position.
Don’t get upset, just deal with it.

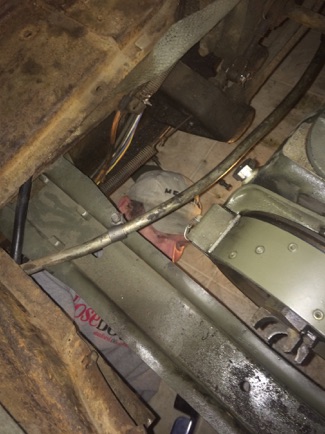
I had to pull off the spare tire and unbolt the spare tire arm crossmember. Luckily you don’t actually have to remove the crossmember, only slide it back out of the way.
The other fortunate thing is that you don’t need to pull off the forward driver’s side bracket. This bracket holds the clutch return spring and its nearly impossible to take on and off. And, by not removing it, this leaves a couple bolts holding the spare tire arm. Removing that includes removing the driver’s running board. This would take hours and a second person to help with the arm. That arm weighs a ton!
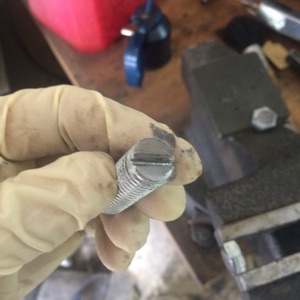
The studs worked and seem to be pretty helpful.
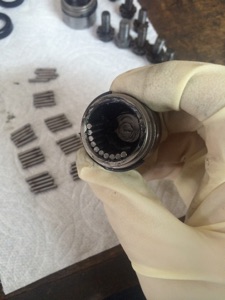
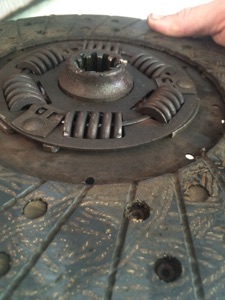
And this picture? Its an internal chunk of the clutch disk that fell out when everything was pulled apart.

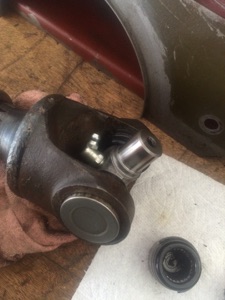
But now, checking over things, it turns out the new differential is leaking quite a bit of oil out of its pinion seal.
I’m getting really tired of replacing major driveline parts. So I’m going to fix this before taking this machine anywhere.
Vandalism!
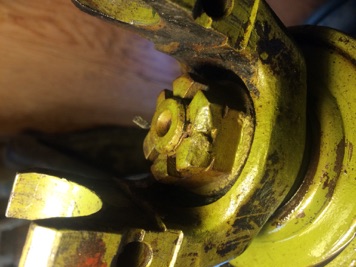
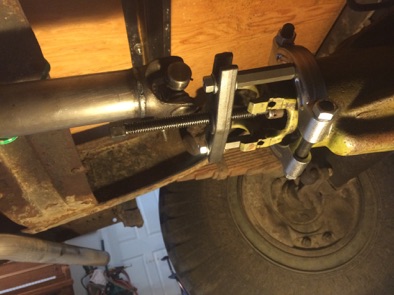
Took a day or so to figure out how to get the bloody nut off. Had to grind away a bunch of metal with my handy dandy die grinder.
First attempt after trying by hand. Bashing chisel between the shaft and a cross shaft held by the U-Joint retainers.
This didn’t work. Also, I felt really bad about bashing this sideways like this.
And, everything fit together great. Now I’m in business.
The cross member bent and the nut and washer pulled through it. The yoke didn’t budge.
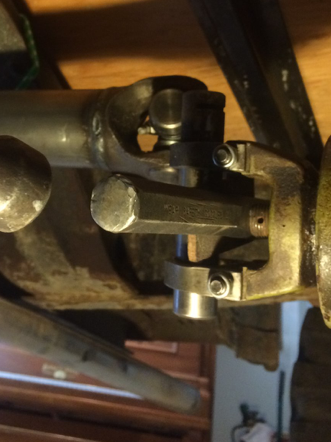
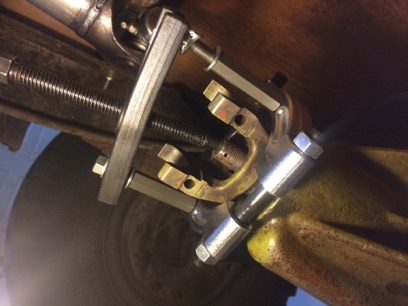
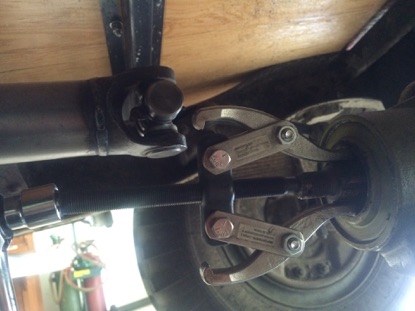
Adding this to the clamp that I already had, I was able to make up a strong enough puller to actually get the yoke off.
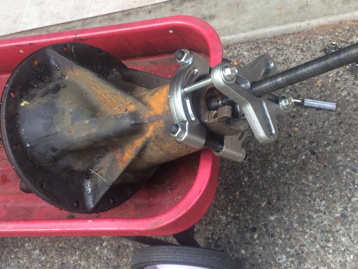
I tested this setup on the old differential to make sure it worked before climbing under the truck.
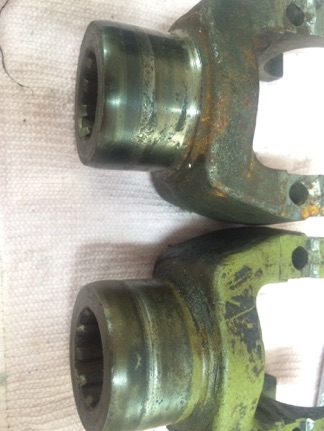
But it was pitted a bunch. Again the local parts shop to the rescue. They had a sleeve I could use to cover the pitted section.
Then I found I could force my two arm puller into the seal and I was able to pop it right out. Again, using the old differential as a test case was really helpful.

Then, of course, I had to bash the yoke back on again.
Sigh..
Topped off the oil, found it about a pint low. Good thing I fixed this. I only had about 100 miles on it.
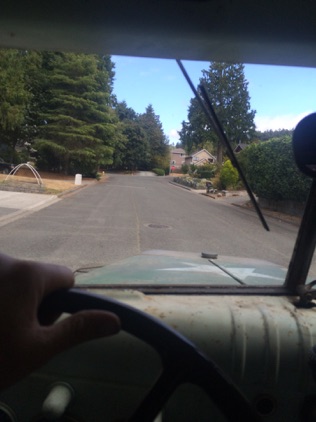
Anyway, ran the truck 30+ miles with no leaks. So I guess for now its fixed.
Sorry about the boring update. Lets hope the next one’s more interesting.
Friday, September 14, 2018