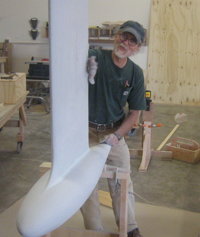
Rudder, hull, deck and the cursed keel.
Had to run down to Calif. for a week of fun and frivolity. Well, more frivolity than fun. But at least the shop was in good hands. I was expecting the beginnings of a keel mold by the time I came back, but it was not to be.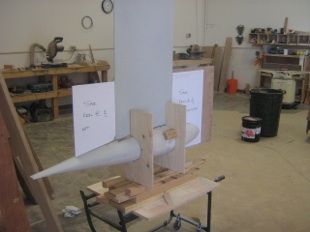
It seems that after much template checking, head scratching and measurements, it was decided that the bulb was not aligned correctly. So Mike and Norm chopped it off.
Although I was pretty bummed by this when I came home, it was the right call. So, whatever.. Deal with it and move on.
Moving on proved to be quite a problem. There is just something odd about this entire bulb fin alignment deal. They had reattached the bulb at what showed as the correct position. But still there were odd unexplainable misalignments from template to template. We fought with it for three more days on and off.
Finally we laid it on its cradle on the table and shot a laser line all around top down the trailing edge to the bulb, around the bottom of the bulb and back up the front to the top again. This fixed a center line around the bulb. Then, we very carefully measured the original template positions. After everyone went home on friday (Stomped out in frustration). I went to work and reshaped the entire side with the original templates to this new centerline. Once it was to its original shape, I took a batten and checked to see if it was fair.
It wasn’t.
Did I ever write about station three on the bulb? There is a bump at station three. We spent what seems like forever getting that stupid bump on there just like the drawing shows it. Then Leif tells us, “Oh, if its not fair, just grind it down ‘till it is. That’s more important.”
“What?!”
Here we are back to square one, and hello.. There’s the station #3 bump all over again. (Covered in Bondo at this point.)
So, this time, I ground it off and fared the side with a batten down from station two to station five. Just like Leif told me to do weeks ago.
By the end of the weekend the bulb had a pretty good finished shape for its starboard side. Best of all, we now had a working procedure we cold follow for the port side.
As of this writing the the keel has been pretty much completed by Norm. The last I saw was him spraying Duratec and sanding out scratches etc. I’m crossing my fingers that they will start making molds from it this week.
But things do go on in spite of it all..
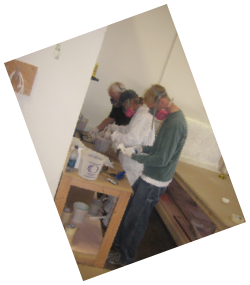
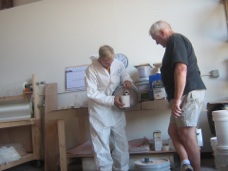
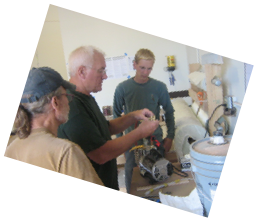
Michel, Norm & Mike at the chemical sink..
You can get an idea what it smells like in here. They are all wearing masks.
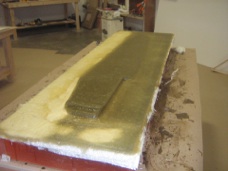
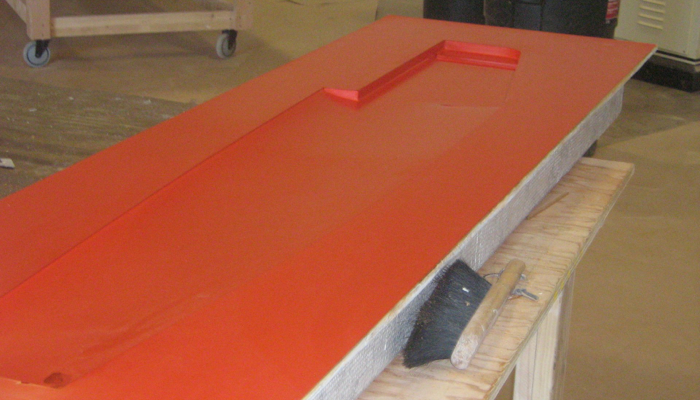
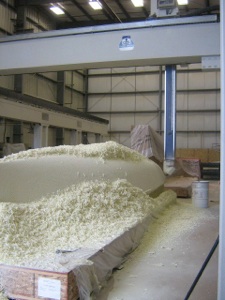
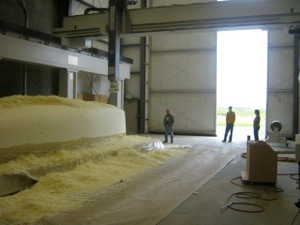
Opti-Plus mold resin starting to kick off on a rudder mold. Neat stuff that Opti-Plus, it has a blend of two plastic resins. One expands with heat to cancel the shrinkage that typically happens when polyester resin cures. It goes on close to army olive and when it kicks, if everything is correct, it turns tan.
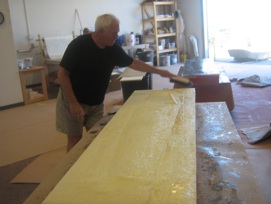
Fully cured getting ready for the next coat. Since its very heat sensitive one can only put on so much at a time. And the room has to be held within a certain temperature window while you apply it and as it cures. Mike keeps track of all this with his fancy laser temp sensor gun.
Between coats its trimmed and sanded..
Mike & Michel finishing up a rudder mold. Actually there about to shoot gelcoat on the backside. We figured; “Heck we put so much work into these, why not do a little extra and make ‘em look pretty as well?”
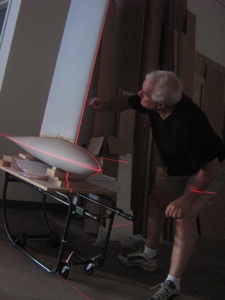
Pulling the rudder plug from a finished mold.
The rudder molds turned out beautiful!! Granted it was a little tough getting the plugs out of them.
There’s more? Of course there’s more!
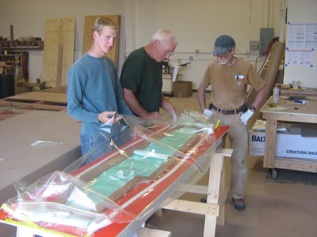
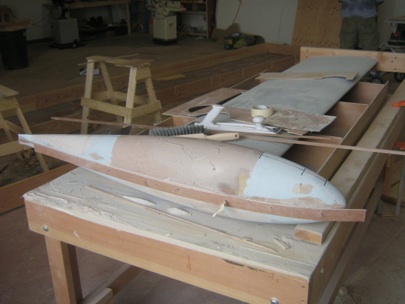
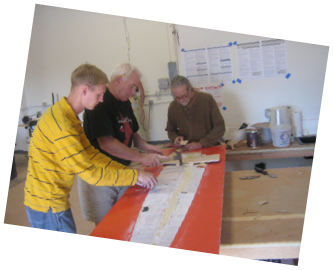
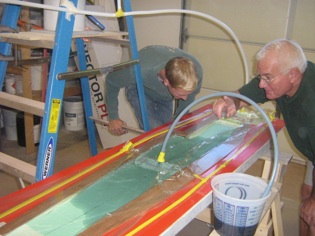
Michel, Mike & Norm working bagging the first rudder half.
The mold has been gelcoated and lined with a bunch (Eight) tapered layers of glass. The green you can see is flow medium to allow the resin to flow faster down the length of the rudder shell. The white tube in the middle is where the resin will flow in. The air is vented out from the ends.
If your going to infuse a part, you need a vacuum system. Here’s MikeS setting up our vacuum pump.
The cost of a vacuum system can be pretty stiff. We all went round and around on what to use.
Finally, we found this little pump at McMaster-Carr PN 4396K45. Its about $700 and it can pull between 29-30 mm Hg. (15 microns) We’re thinking this should be enough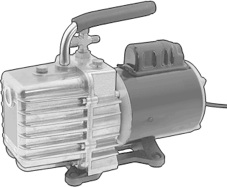 .
.
The only drawback is it has stupid complex fire up and shut down routines. But for now, its getting the job done without breaking the bank. Will it work for larger parts like the hull & deck? Donno’, but we’re certainly going to give it a go.
In goes the resin.
I just love this bit. The entire shop kinda’ stops because everyone comes over to watch the resin flow into the part. There’s always a competition over who can guess the time for the infusion the closest.
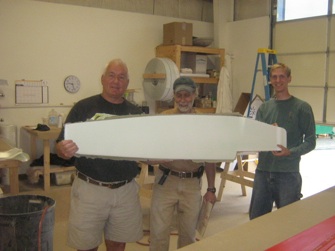
Our first part.
How cool is that huh?
Finally!

Second part was almost an anticlimax. Next thing you know we have a entire rudder.
Only problem was that the method for attaching the two halves wasn’t optimal. This caused the weight come out a tad over design limit. In fact, there is a measurable time distortion field near the rudder its so bloody heavy.
Anyway, the idea was to check the tooling and the alignment. Both passed with flying colors. Next rudder will be in spec.
I hope..
There’s more? Of course there’s more!
MikeC, Michel & MikeS... I know, its confusing to me as well, believe me!
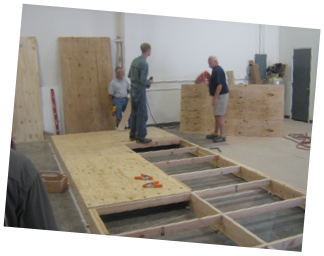
Three Mikes working on the deck strongback.
So, along with everything else going on, the deck plug is going forward at a rapid rate.

Michel & MikeC starting on the deck stations. As of this writing about half of the deck stations are up. Hopefully by tomorrow they will all be up and the stringers attached.
There’s more? Of course there’s more!
It turns out that the company that we’d originally planned to have cut the hull stations went bankrupt. Or, is going bankrupt. So Leif suggested Bayview Edison.
Bayview sounded like a good idea ‘cause, for one, they’re just down the street from us. (The original was about 1,000 miles away in So. Cal.) Bayview not only could cut the stations, they have a five axis router that could fit a small house. So.. We opted to go direct from the CAD file to the shaped plug.
One fell swoop!
Mike, Mike & Julie watching the Dart hull plug get its initial milling.
Too cool!
So, we have deck, hull & keel molds all being worked on simultaneously. Along with completion of some usable rudders.
There’s more? No there’s not!
No wait there is more, Buzz of Ballenger spars in Watsonville Calif. is building us a couple rigs. Mast, boom and whatever else nessisary to hold up sails.
And.. We also have a couple sets of sails being designed and built by UK Sails. They have a loft right here in Anacortes. Ian Slone of Counter current marine is their local rep.
This is pretty much all (more than) I can deal with at the moment. Except I need to find someone that does stainless railings and stuff..
Ow my head..
Thursday, August 7, 2008