
No Machine Client 3.5
No Machine has discontinued the 3.5 Client except for paid customers. Unless you already have the 3.5 client, please use one of the alternative NX clients, 4.x player, FreeNX, OpenNX, Remmina with NX Plugin, or QNX.
There are a variety of ways Eskimo’s shell servers can be accessed graphically. The No Machine client allows you to have a full graphical desktop securely over any connection. It is usable even with a dial-up modem. With a DSL or cable modem connection, nx comes real close to physically being at the console. It is available for Linux, Windows, and
MacOS.
This works on all of our Linux shell servers. It does not work on the old SunOS 4.1.4 eskimo.com server. This is because the freenx server software is unavailable for SunOS 4.1.4. Even if it were, graphical software requires the capabilities of a modern machine for reasonable performance.
- Download the free No Machine nx 3.5 client from the No Machine website. The 3.5 client is no longer available unless you are a No Machine paid customer.
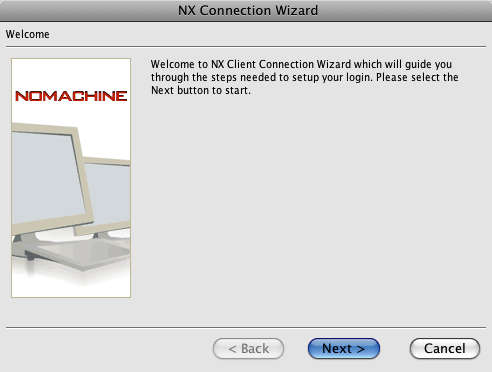
- The first time you start the nx client, it will automatically invoke the nx connection wizard. After you’ve configured the connection for one server, you will need to manually invoke the connection wizard to add additional servers. Click the next button to start.
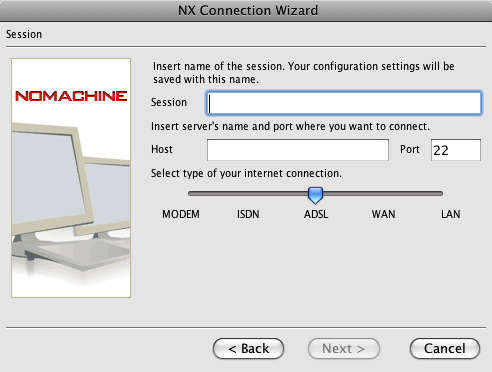
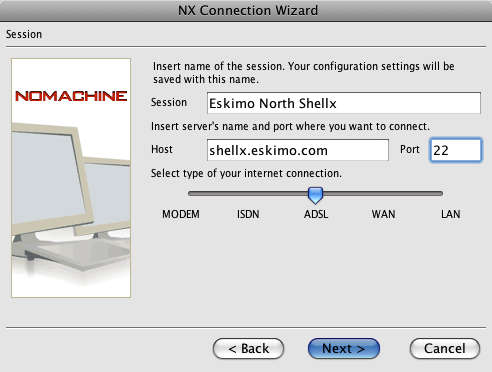
- Fill in the session with a human understandable name for the host you will be connecting to and the hostname with the name of the host, for example, “shellx.eskimo.com” or “scientific.eskimo.com”. The port will default to 22 which is the standard ssh port. Leave the port set to port 22. Set the speed to the speed of your connection. This will optimize nx for your connection speed providing the best compromise of quality and update speed. For a cable modem WAN provides good performance.
- After you’ve chosen a session name, filled in the host name, and set your connection speed, click next.
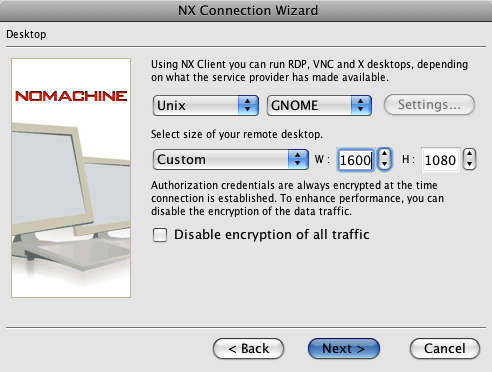
- Select the operating system of the host you are connecting to. In the case of Eskimo North’s hosts, choose Unix. Select the Desktop you wish to use. On Shellx and Scientific, Gnome and KDE are supported. On Centos 7, Scientific 7, Fedora 20, OpenSuse, Debian, Ubuntu, and Mint, Select Custom session and select ‘mate-session’ as the command. On these newer systems the default desktop uses a compositing window manager which is incompatible with NX and X2Go based remote desktops. Mate is a fork of Gnome-2 that will work and is installed on all of our newer servers.Choose the initial screen size. This is not terribly important as you can change your desktop dimensions on the fly once logged in using the display preferences. The screen will resize on the fly. Do not click on disable encryption of all traffic. There is sufficient computational resources here that you would not see a substantial increase in performance but you would decrease your security. For this reason, encryption is required by our servers.

- Once you have selected operating system, Desktop environment, and screeen size, click next.
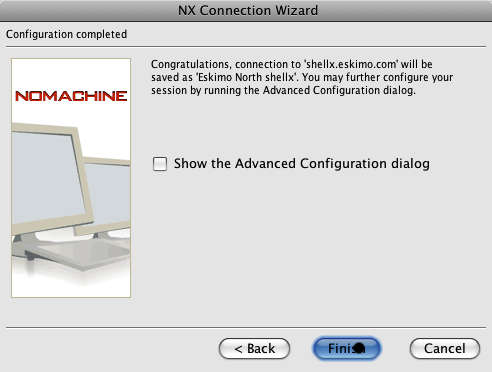
- There is no necessary configuration in the advanced section. At this point click finish.
- The next thing you will see is the connect box. This is also what you will see anytime you start an nx session.Now you’re ready to type in your password and possibly your login, if it is different on the machine you are originating on, and click
Login. You should be rewarded briefly with a desktop from our shell server displayed right on your screen which will respond to your mouse and keyboard as if it were connected right to our server.This is a picture of the Gnome virtual desktop displayed on top of a MacOS 10.5.8 Desktop, the stuff at the bottom is the MacOS dock.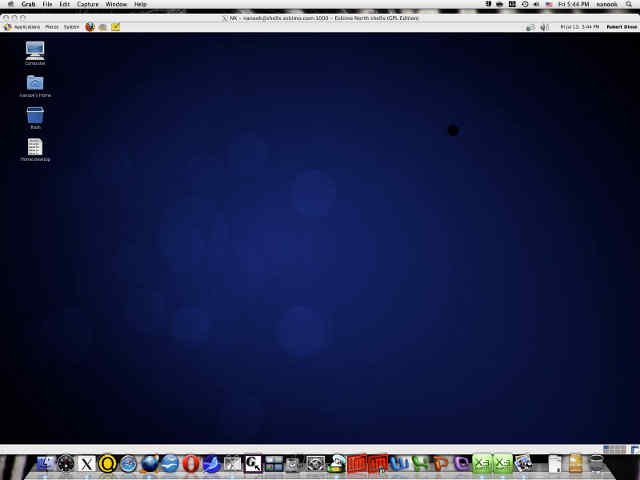
- Enjoy! To end the session and logout, click on your username in the upper right hand portion of the screen.
- If you don’t have a shell account here, now is an excellent time to find out what you’ve been missing! Click Here For a Free Two Week Trial.