
Remmina NX
Installation
Remmina, is a multiple protocol remote desktop client for Linux that is available in the repositories of Debian based Linux systems including Debian, Mint, and Ubuntu. All you need to do is type:
apt-get install remmina
For CentOS 7, Scientific Linux 7, or Enterprise Linux 7, you can get an RPM from rpm.pbone.net, http://rpm.pbone.net/index.php3/stat/4/idpl/26963767/dir/redhat_el_7/com/remmina-1.0.0-8.el7.nux.x86_64.rpm.html. Unfortunately it is not available in any of the regular distributions for those versions of Linux.
For Centos6, Scientific Linux 6, or Enterprise 6, Remmina is not available as an RPM. I haven’t attempted a compile from source but that would appear to be the only option. Suggest using X2Go instead.
For Fedora and OpenSuse, Remmina is included with the distribution. To install on Fedora 22, type:
dnf install remmina
To install on OpenSuse type:
zypper install remmina
Creating a New Connection
On the Mate Desktop, Remmina will be under Applications->Internet-Remmina. You can also start it from the command line by just typing “remmina”.
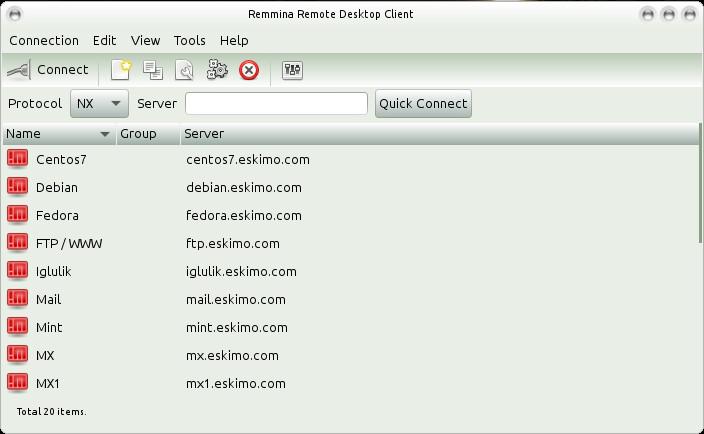 Here I already have established some connections but when you first start Remmina there will not be any. Hover over Connect and select “New”.
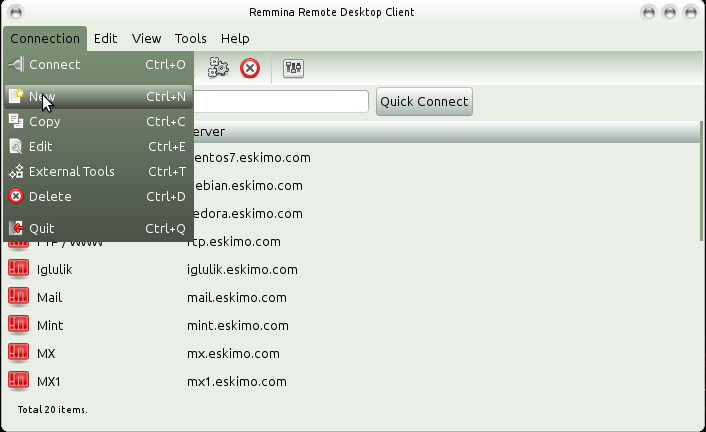 It will pop-up a new window that looks like this:
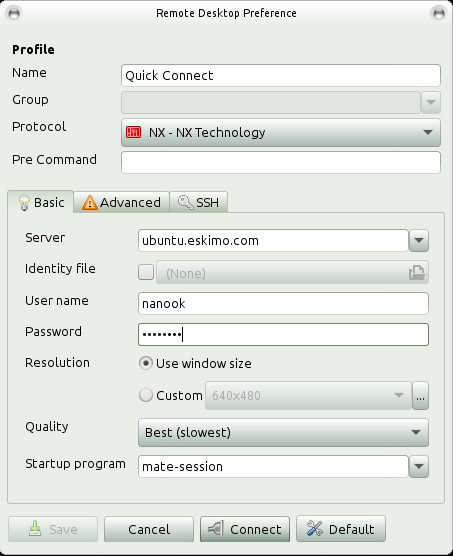 Select “NX” as the protocol. Start with the “Basic” tab and fill in the server you want to connect to.
Fill in your username and password.
Use Window size if you want a full remote desktop taking over your screen, else use one of the custom sizes to get a smaller window.
For Quality, if you have a DSL or cable connection, you can use Best (slowest) and it will still be basically like you are there. If you have an ISDN or dial-up connection then select a lower quality. You may also have to do this is if you have a poor wireless connection or a satellite connection.
For the start-up program, I recommend that you select Gnome if you are using Shellx or Scientific. If you are using any other server, I recommend you use mate-session which is a fork of Gnome2. Any Desktop that uses a compositing window manager will not work. Kde3 and kde4 should be okay, but kde5 and gnome3 are not. Mate is not one of the pull down options, you’ll need to type “mate-session” into the Startup program box.
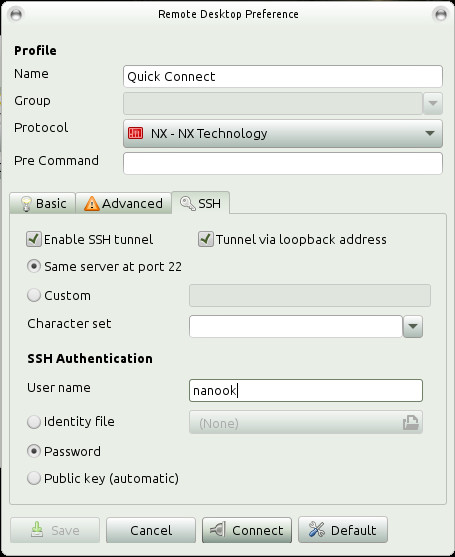 Then go over to the SSH tape and tick Enable SSH tunnel and Tunnel via loopback address. Unless you are behind a firewall that blocks ssh, tick Same server at port 22. If you are behind a firewall, tick custom and select port 443. This is normally the SSL port for a web server, but on our shell servers we also have sshd listen to this port.
Fill in your username, select “Password” as the authentication method, and then click on Connect.
 It will prompt for SSH password, put in your password again, and click OK. Most of the time a connection will be established but if you either had a former connection and did not logout properly or after a server reboot, it may either timeout or say, “Server won’t say Bye.”
If it does that it make take up to six attempts to connect. Once you successfully connect, unless you disconnect without logging out or the server is rebooted, you should not have another problem.
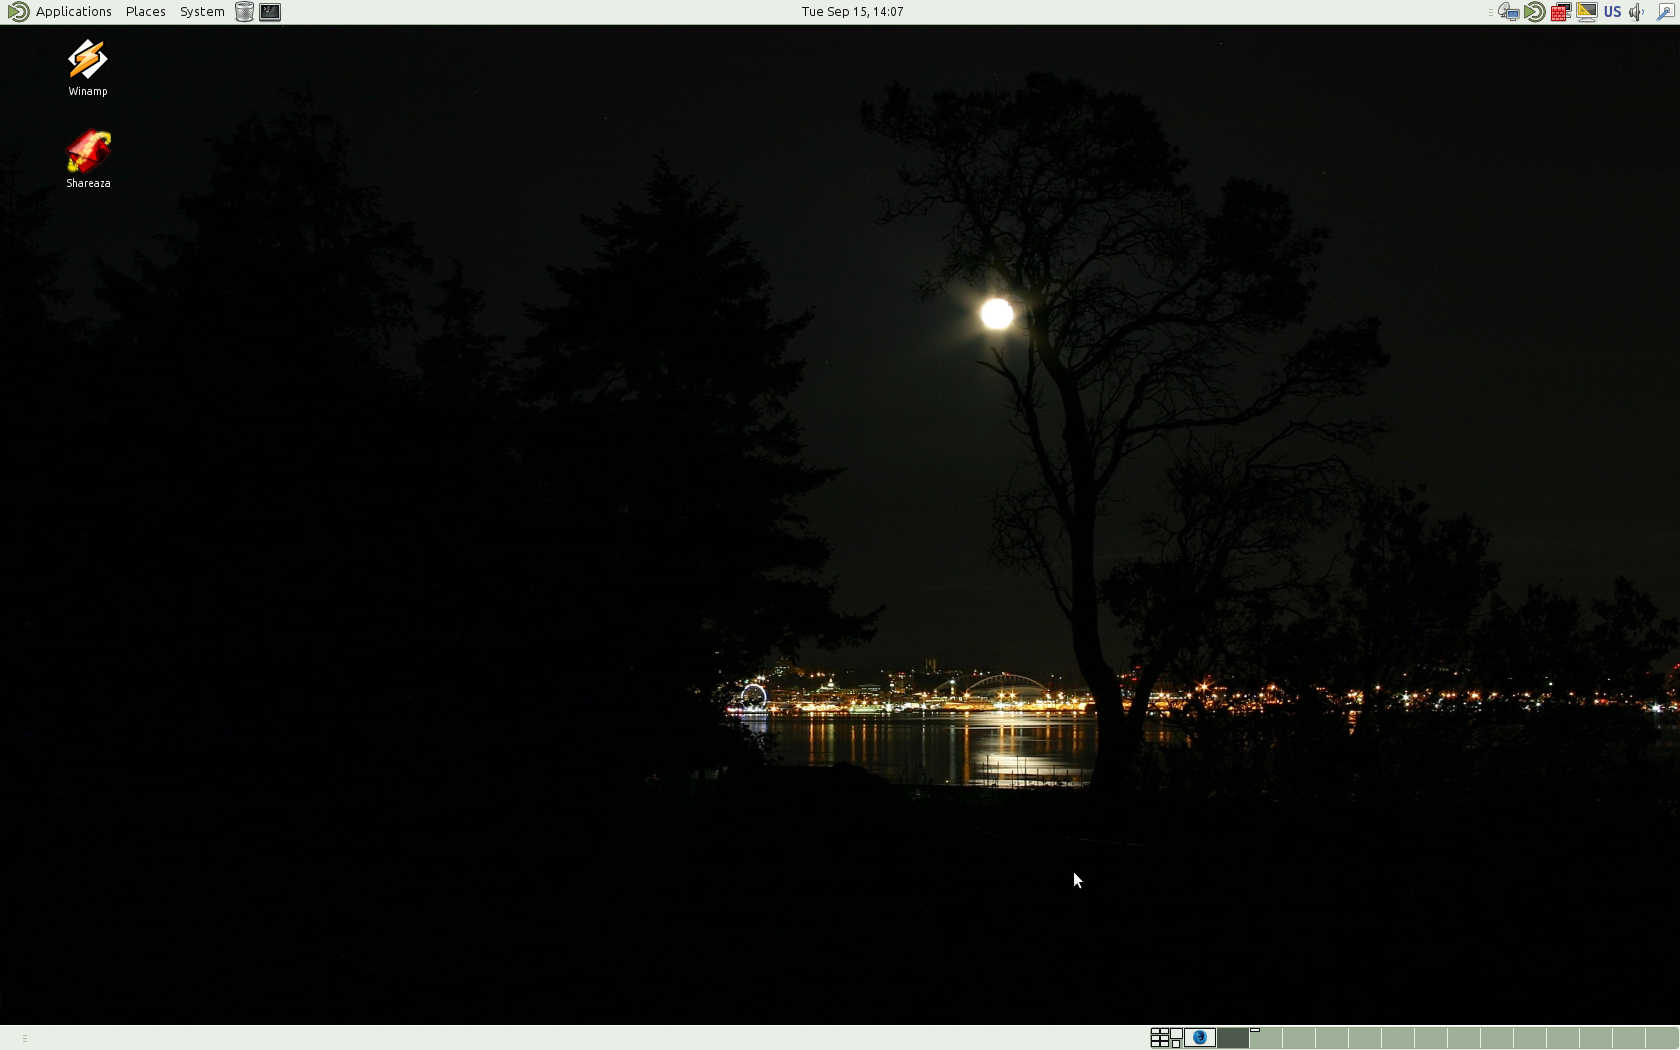
This is a sample Mate Desktop, you can set the background to whatever you want, the panels can be configured however you like, but this is a typical default configuration.
 Once you have created a session, it will show up in the list with the little red box to the left and then to connect all you need to do is click on the host, fill in your password, and click connect.