
WordPress
WordPress performs well on Eskimo North because of fast computing facilities, adequate memory, and memcached support for object caching plugins.
WordPress was originally designed primarily a blogging application, however, it has evolved into a full-fledged highly versatile content management system which can be used to implement entire websites as it has been used here. The availability of responsive themes such as Twenty Eleven allow the easy creation of mobile friendly web sites.
WordPress is customizable with thousands of themes and plugins. You can edit the Style Sheets of themes or create child themes to further customize the look and feel. It’s open sourced, so if you really want to dig in, there is absolutely nothing that you can’t modify.
Using WordPress gives you complete control over your blogs look, feel, and content. You don’t have to worry about services being discontinued.
Installation
We do not offer one-button installs presently. We are happy to install WordPress for you. E-mail support@eskimo.com.
We will need the location where you would like it installed, the password for your MySQL database, and the password you would like for WordPress.
WordPress requires an SQL database. MySQL provides good performance and compatibility. If you do not have a MySQL database (they’re included with your shell account), please e-mail support or generate a ticket with the password you would like. The login will be the same as your shell login.
Unpack WordPress into the location you desire. For example, say your login is “user” and you want your WordPress site to appear at /~user/site.
Login to shellx.eskimo.com. You need to have a shell terminal window. After you are logged in you will be in your home directory, (/home/login).
All of your web files go in a directory called “public_html” in your home directory unless it is an adult site in which case it goes in “adult_html”. If you haven’t already created a public_html directory, you will need to do so now. “$” is the system prompt but may be different depending upon what shell you are using and how you have it configured.
$ mkdir public_html
Change to that directory.
$ cd public_html
We keep a copy of WordPress in “/misc/wordpress.version.tar.gz”. In this example you want it to be in public_html/blog. If instead you want it to be in your home directory, unpack it there, remove your existing public_html and move the resulting wordpress directory to public_html.
$ umask 022
$ tar -xvzf /misc/wordpress*.tar.gz
$ mv wordpress blog
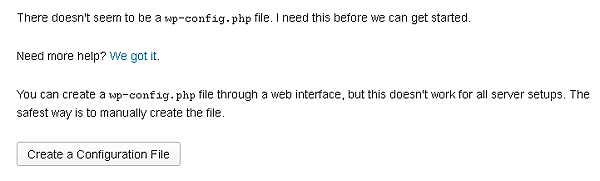
After you do this, the rest of the setup is completed with your browser. Go to your WordPress site URL, /~user/blog in this case, and you will see the following screen:
The Web interface for creating a configuration file will work fine with our server setup. There is no need to create one by hand. Press the “Create A Configuration File” button and boldly press on.
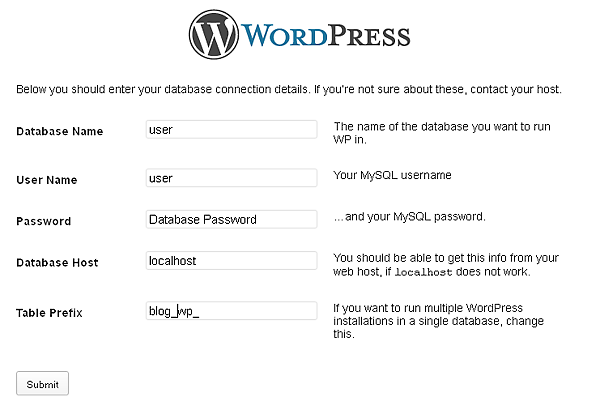
The database name and database username will both be the same as your login here.
The password will be whatever you requested when you asked support to setup a MySQL database for you.
The database host will be “localhost” as the MySQL server is on the same machine as the web server.
The table prefix will be “wp_” by default. I suggest you give it a name that identifies your WordPress site so if you start multiple WordPress you can easily tell what tables belong to what site. For example, for my science blog, I use “science_wp_” as the table prefix.
Press the “Let’s Go” button.
Fill these things in and press Submit! Do it! Now!
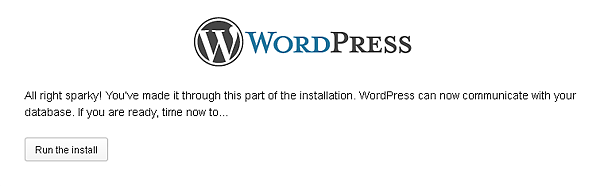
If you made it this far now press “Run the install!”
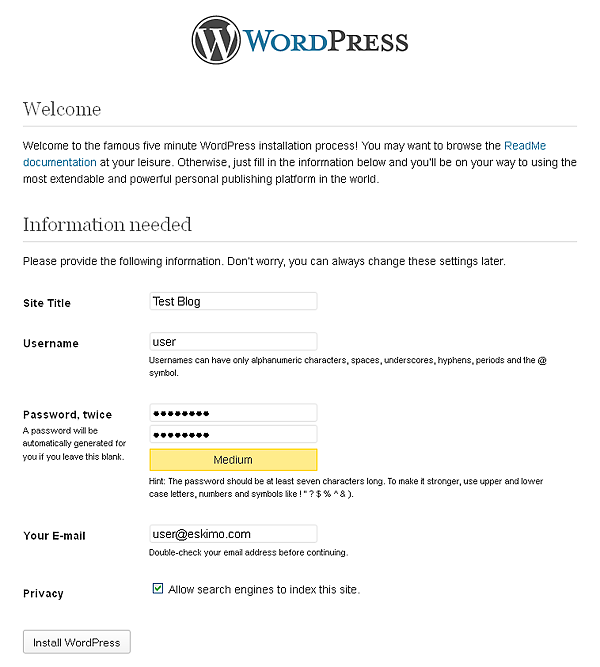
Fill in the blanks. The username and password need not be the same as your database username and password. This username and password is used to login to your blog to post, moderate comments, and other administrative actions.
The e-mail address will be used to send notifications of things like comments waiting to be moderated and new user registrations.
Check the Privacy box if you don’t want privacy, that is you want your blog to be found in search engines. I know it’s bass ackwards.
After you fill these in, press the “Install WordPress” button.
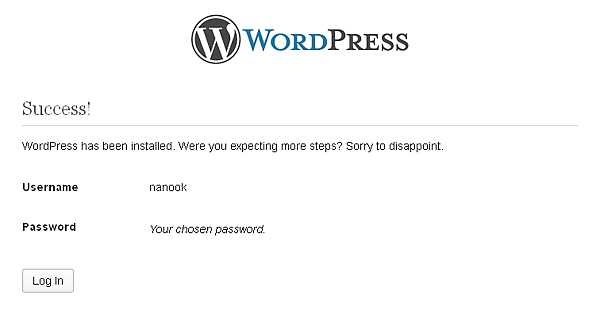
You’ve finished the basic installation. Now you can login and customize your new WordPress blog. Click on the “Log in” button to continue.
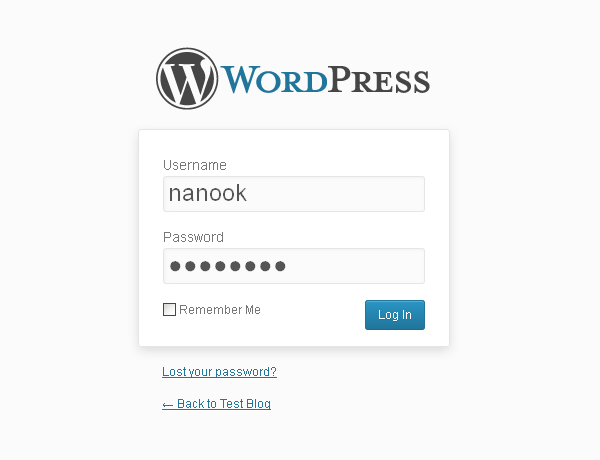
Enter your WordPress username and password then click the turquoise “Log in” button to really login to WordPress.
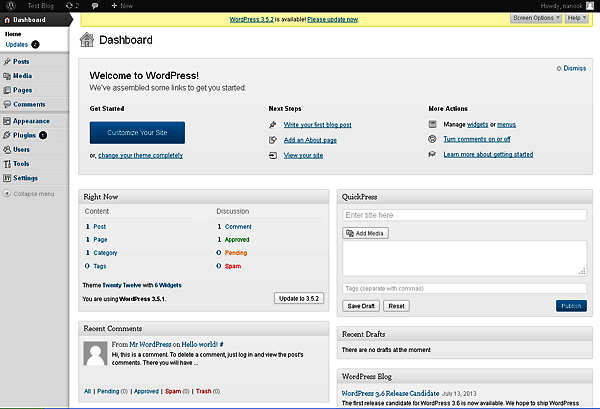
Now that you’re logged in, if you see the yellow bar across the top, that means the current version of WordPress is newer than the version we have available here. If that happens, it is easy to fix.
See the little circular thing with two arrows chasing each other? That is the update page. If it has a number, it means that there are updates available.
Updates to WordPress are super-easy to apply. Click on that arrows chasing each other thing and it will bring up the updates page.
At the top of the page, if there is an update available for WordPress, it will have an “Update Now” button. Click on it and about a second later WordPress will be updated.
Updates to WordPress are much less frequent than updates to themes and plugins which seem to be almost daily. These will show up below WordPress updates. Select what you want to update and click on the appropriate update button.
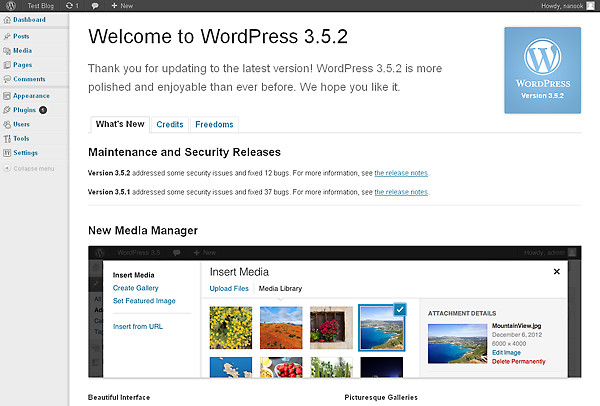
This is the page you will arrive at after an update. All of the configuration tabs are still to the left.
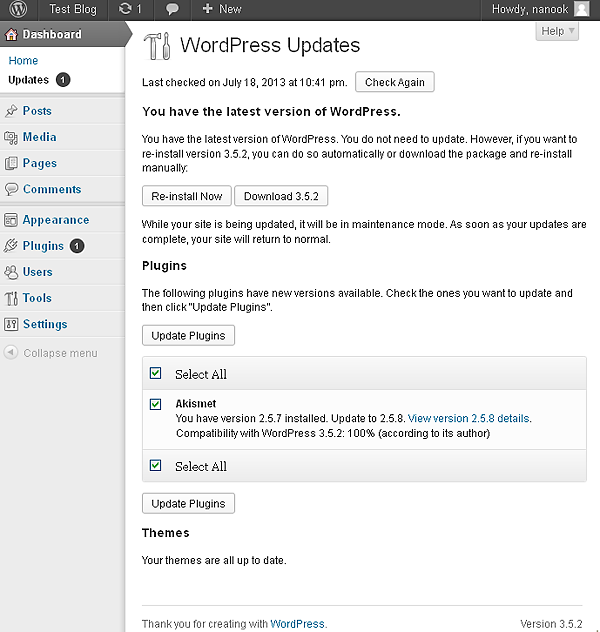
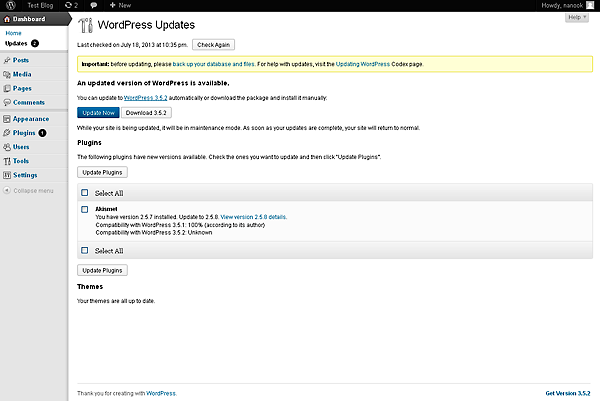
This is what the updates page looks like when WordPress is current and there are plugins to update.
At this point spend some time exploring. WordPress seems a bit daunting and overwhelming at first, but it is fairly intuitive and easy to learn.
Optimizing
Object Cache
To make your blog go fast, go to the Plugins tab and select New Plugins. In the search box, put “Object Cache memcached”, and hit the search button. Select an object cache plugin that supports memcached. I recommend, “Memcached Is Your Friend”.
After installation is complete, that will typically take about a second, select activate.
The Zend PHP engine works by compiling PHP code into intermediate pseudocode and then interpreting that code. The compilation phase is actually the most CPU intensive and time consuming portion of PHP execution.
The first time PHP code on one of WordPress’s pages is run, the Object Cache plugin stores the compiled pseudocode in a memory cache object. Then, the next time that code is encountered, it doesn’t have to be compiled again, it can be executed right out of cache.
The plugin is free, requires zero configuration, and does it’s job well. It actually supports a number of different cache engines, it just happens that memcached is the one we have and it knows how to use it.
For most people I would recommend WP-Cache.Com, if you have only static or infrequently changing content. If you have dynamic content then I would recommend WP Fastest Cache for most people. It’s fast, reliable, and has a good functional exclusion setting so you can exclude dynamic content from being cached. For those who prefer more configurable caching, WP Super Cache or W3 Total Cache both offer a greater deal of flexibility however, WP Super Cache does not have a way to exclude specific pages. Click on the above link for more details.
AntiSpam
Another very useful plugin is the Akismet anti-spam plugin. This is simply the most effective anti-spam software I have ever seen. It has kept spam from getting posted to my blog while at the same time having an extremely low false positive rate.
I’ve only had one spam message make it through on any of my blogs and one false positive, using this plugin.
WP Edit
This plugin is an absolute must! What it does is replace the tinymce editor with a much more capable WYSIWYG editor which allows you to set font size, font, color, background color, do subscripts and superscripts, math formula, and much more.